Creating a Stand-Alone Executable
To make a "stand-alone" executable (.EXE) file, which will let you run your program from Windows (rather than having to open the project in the IDE and running it from there), perform the following steps:
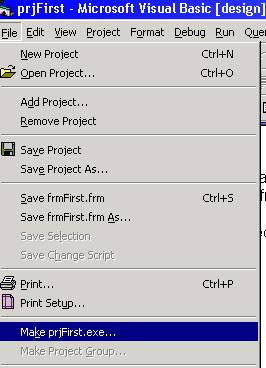
· With the project opened in the VB IDE, click the File menu and choose Make (Project Name):
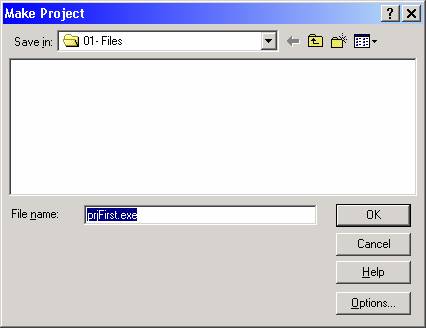
· The Make Project dialog box will then appear, prompting you to give the executable a name (the default name is the name of the project). You may also change the folder where the executable will be saved, if desired. Once you click OK, VB will compile your program.
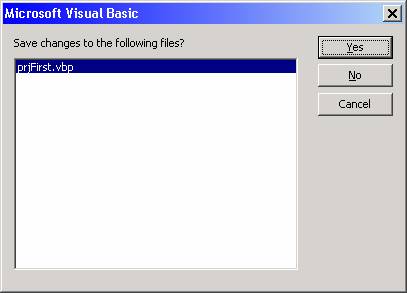
· At this point, you can close the project. If any of the project files need to be saved, VB will prompt you.
In Windows, navigate to the folder where you saved the executable:
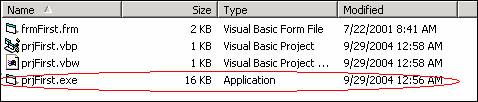
Note that the default icon for a VB executable is the "VB form" icon. If desired, you can change this (before you compile). How to do this will be shown in a later tutorial.
What has been illustrated in this tutorial will enable you to run the stand-alone executable on YOUR OWN SYSTEM. It does NOT guarantee that the executable will run on another computer. The computer on which the executable is to run must have the VB run-times installed, and any ActiveX control used by your program must also be registered on the target machine.
Setting up the VB run-times and registering the other components required to run your VB program on another computer is accomplished by using an install utility such as the Package and Deployment Wizard which comes with Visual Studio / Visual Basic, or a third party product such as InstallShield.