Basic Text Editor Sample Application
In the demo programs presented here, a basic text editor, similar to Windows Notepad, has been built and can be downloaded for your perusal. This text editor application allows a user to create, save, and print a plain text file. Three sample applications have been developed. The first sample application enables the user to perform basic text editing functions such as copying, cutting, pasting, and finding text. The second sample application builds on the first and adds the capability to replace text. The third application adds the ability to turn word wrapping on or off.
These sample applications incorporate the use of menus and dialogs, both introduced in earlier tutorials.
Sample Application 1
The first sample application enables the user to perform basic operations such as creating, saving, and printing a plain text file, as well as basic text editing functions such as copying, cutting, pasting, and finding text. Screen shots of some of the program’s run-time activity are shown below:
|
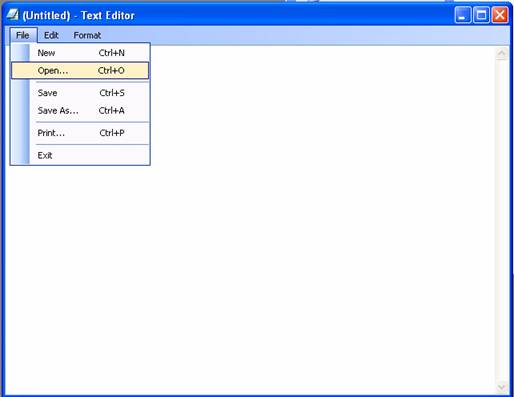
The File menu contains the expected items for New, Open, Save, Save As, Print, and Exit. Here, the user has clicked on Open … |
|
|
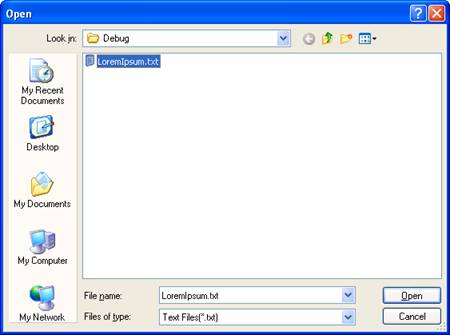
The Open dialog is shown, and the user chooses a text file to load in … |
|
|
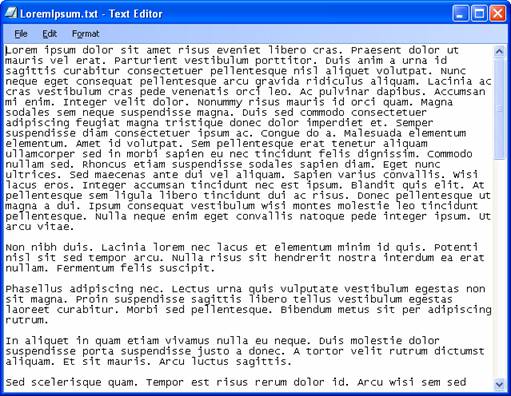
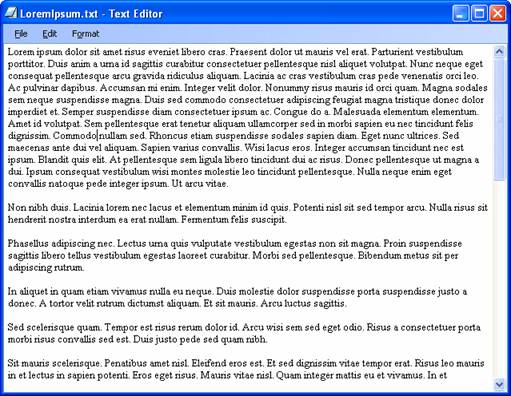
The text file is loaded into the multi-line textbox (docked to fill the entire form below the menu) that serves as the area where text editing is to be performed. |
|
|
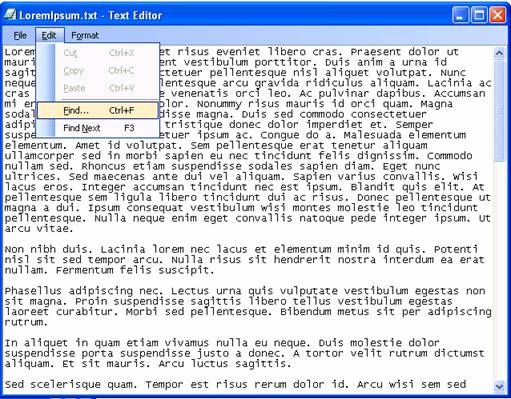
The Edit menu contains the expected items for Cut, Copy, Paste, Find, and Find Next. Cut and Copy will be enabled when any text is selected; Paste will be enabled when there is text in the Clipboard (as a result of a copy or cut).
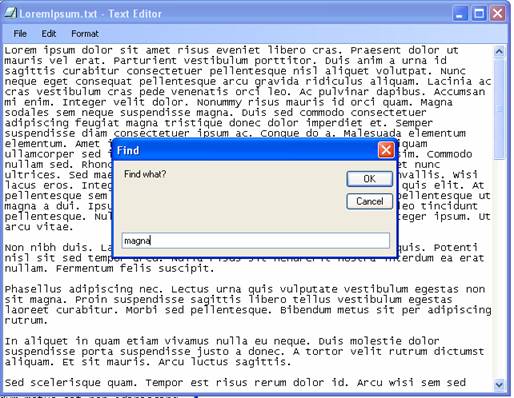
Here, the user has clicked on Find … |
|
|
After clicking on Find, a custom dialog form pops up, asking “Find what?” Here, the user is searching for the word “magna”. |
|
|
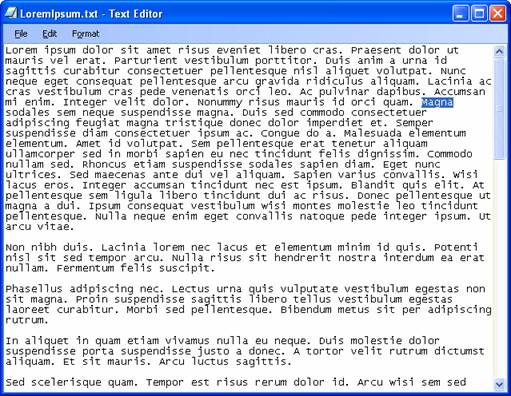
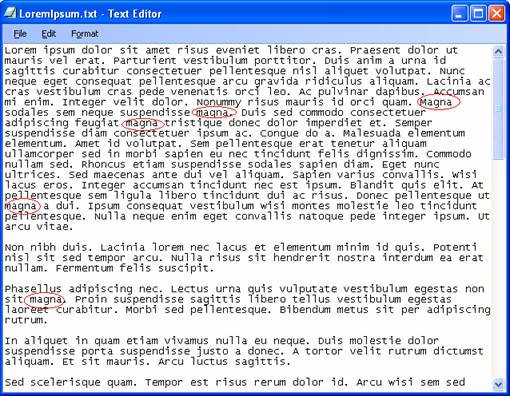
The first occurrence of the text that the user has searched for (“magna”) is highlighted. If the user performs a “find next” operation (either by pressing F3, or by pressing Alt+E+N, or by selecting Find Next from the Edit menu), subsequent occurrences of the search text will be highlighted. |
|
|
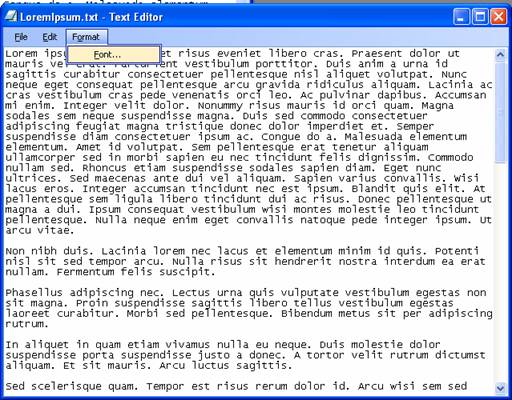
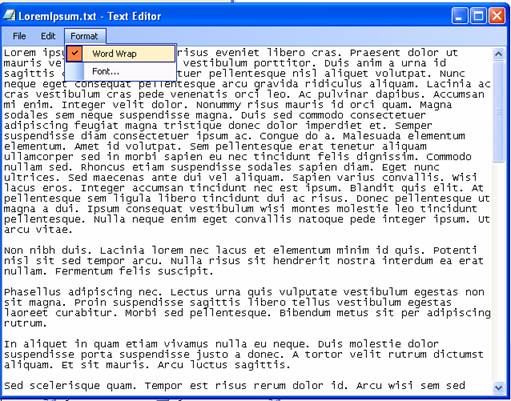
The Format menu contains only one item, Font, which has been selected here. |
|
|
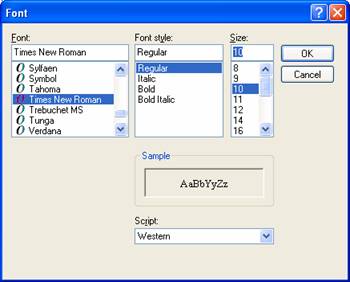
The Font Dialog is displayed. Here, the user has selected Times New Roman, size 10. |
|
|
The font of the text has been changed accordingly. (Similar to Notepad, when you change the font, it affects the file as a whole; you cannot have mixed fonts within the file. Also, this sample application will not “remember” the font change on subsequent runs of the program.) |
|
Download the project files for Sample Application 1 here.
Sample Application 2
Sample Application 2 builds on Sample Application 1 in that a Replace function is added to complement the Find function. The screen shots below show this added functionality:
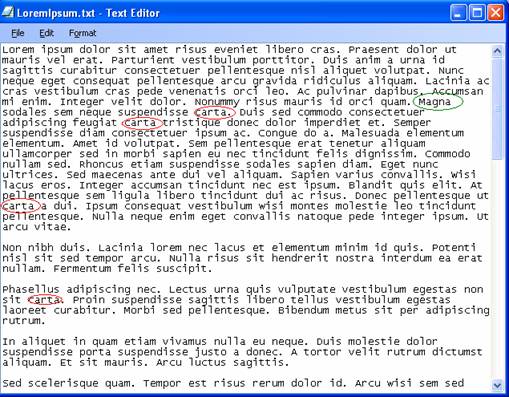
|
Note, in the screen shot on the right, the word “magna” has been circled. |
|
|
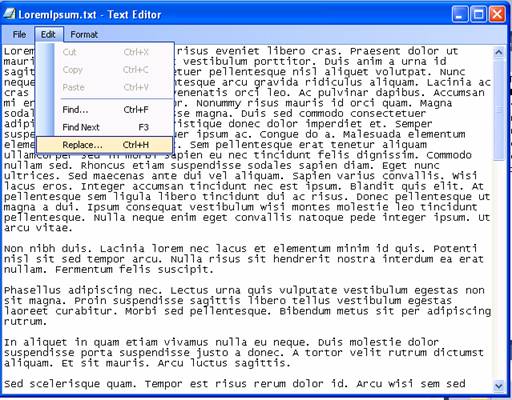
From the Edit menu, the user selects the newly added item “Replace”. |
|
|
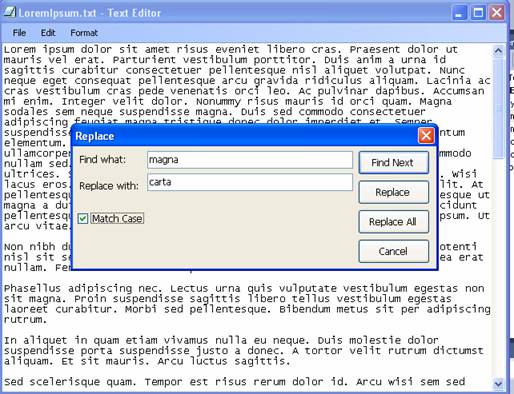
A newly enhanced custom dialog form pops up, where the user specifies to find “magna” and replace it with “carta”. Also, the “Match Case” checkbox is checked. |
|
|
After clicking “Replace All”, the system will respond with a message stating how many occurrences were replaced (that message is not shown here). Shown on the right is the result of the replacement. Note that only occurrences of “magna” that were in all lower case have been replaced with “carta”. The first occurrence of “magna”, which is capitalized at the beginning of a sentence, was not replaced, because the user specified “Match Case”. To replace the remaining occurrences, the user could do another Replace operation, specifying to replace “Magna” with “Carta”. |
|
Download the project files for Sample Application 2 here.
Sample Application 3
Sample Application 3 builds on Sample Application 2. Sample Application adds the functionality to turn Word Wrap on or off. In the previous applications, word wrap occurred automatically in the txtEditor control, because the Scrollbars property was set to 2 – Vertical. When you only have vertical (as opposed to horizontal) scrolling, a multi-line textbox will perform word wrapping automatically. If you set the Scrollbars property to 3 – Both (or 1 – Horizontal) word wrap no longer occurs. The presence of a horizontal scroll bar effectively turns off word wrapping, and every paragraph (string of text up to a carriage return) will appear on one line, which can be horizontally scrolled if necessary.
So you might think to turn word wrap on or off, you simply change the value of the Scrollbars property when the user clicks "Word Wrap" on the menu. Unfortunately, it is not that easy - the Scrollbars property cannot be modified at run-time! So to support a feature that turns WordWrap on or off, you must use two textboxes: one with Scrollbars set to 2 – Vertical, the other set to 3 – Both, with only one of these visible at any given time. When you switch from one to the other, you copy the contents of the "old" one to the "new" one.
The screen shots below show the added word-wrap functionality:
|
Here, we see the newly added Word Wrap item in the Format menu; note that it is checked by default. |
|
|
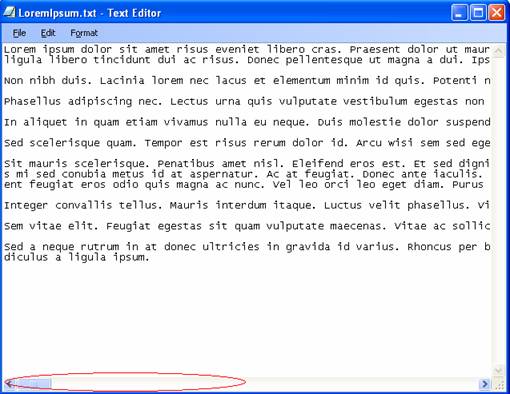
By clicking the Word Wrap menu item, the user toggles word wrap off. The result is shown on the right. Note that the paragraphs no longer wrap, and a horizontal scroll bar is necessary to view the text out to the right. |
|
Download the project files for Sample Application 3 here.